To setup your new Wireless Internet connection, just follow these quick steps. First Step Internet's wireless technicians will come out and install your antenna and all your settings. Just in case you lose these settings or switched computers, here are some instructions that can help you get back on the internet. You will need to have your static IP information on hand if you were assigned one at your initial setup.
These instructions apply after your ethernet card has been installed and is working.
WINDOWS XP
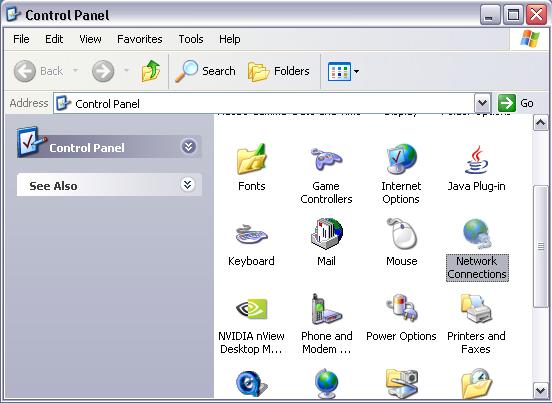
In Control Panel you will find an Icon called "Network (and Dialup) Connections".
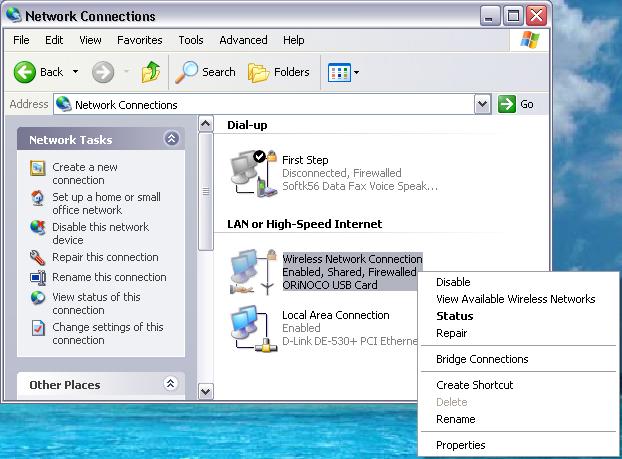
Inside the Network Connections, right-click the Local Area Connection (LAN) icon and choose Properties from the list.
*In Windows XP, right-click on the Wireless Network icon then choose Properties.
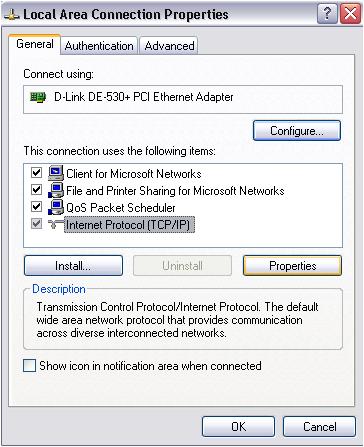
In the large box under Wireless Network Connection Properties you will see:
"This Connection uses the following items"
Go to the object at the very bottom of this list which should say Internet Protocol TCP/IP.
Click and highlight it, then click the properties button below.
There, you will find a tab called General.
Make sure it is set to "Obtain an IP address automatically".
Make sure it's also set to "Obtain DNS server address automatically" (unless otherwise adviced).
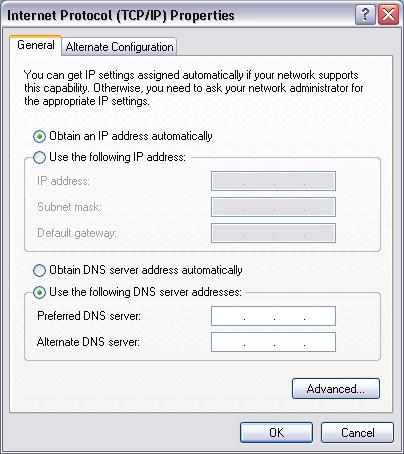
Click OK twice.
You are done!